You can import individual columns or a rectangular range of cells from another spreadsheet into your currently open workbook. The data will be imported into a new page of your workbook.
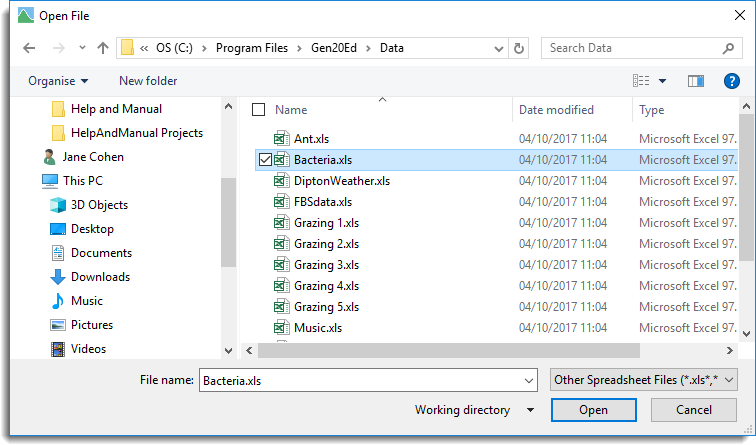
- Locate the spreadsheet to import: from the menu select File | Open then navigate to your required spreadsheet.
- Select the required spreadsheet file and click Open.
- Select which spreadsheet you want to add to your open workbook by clicking it with the mouse.
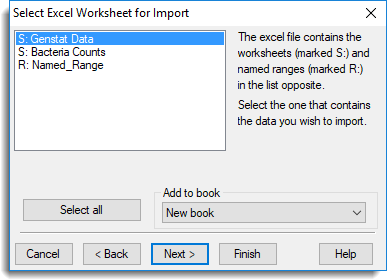
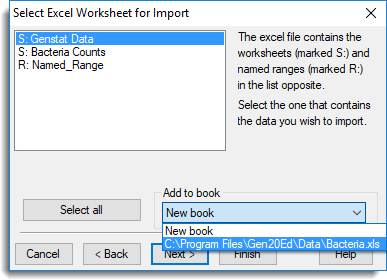
- The Add to book dropdown list contains the names of any workbooks you have open in Genstat. Select your open workbook then click Next.
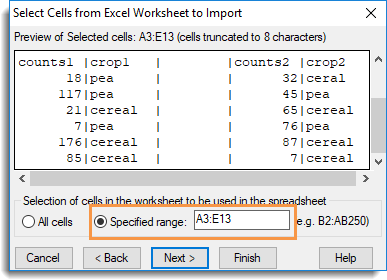
- Next, preview the cells to import: the preview shows a truncated section of the spreadsheet data. The text at the top of this dialog states Preview of selected cells XX:XX, which are the cells that contain data.
- Select Specified range then type the start and finish cells names separated by a colon, e.g. C1:D96, and click Finish.
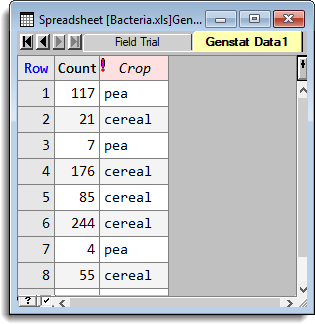
The workbook is updated with the newly imported columns displayed on a new spreadsheet tab.