Select menu: Stats | Microarrays | Data
Use this to select multiple input files containing the data scanned from microarray slides to be opened into a single combined spreadsheet.
- From the menu select Stats | Microarrays | Data.
- Select files and change their order as required then click Open to import the data.
File type
The format of microarray data files to be opened. Genstat opens the files using the common text based output formats of these file types. Microarray systems are constantly updating their file formats and subsequently Genstat may not always be able to read a file format if it has been updated after the release of this version of Genstat. The file types currently supported are:
- GenePix GPR – Files in Genepix CSV format
- Imagene – Pairs of files in Imagene CSV format (one per channel)
- Spot R – Spot files in binary R format
- TIGR MEV – Files in CSV format
- QuantArray – Files in QuantArray format
- ScanAlyze – Files in ScanAlyze format
- Comma Delimited MA – General files in CSV format
- Affymetrix CEL – Files in Affymetrix CEL format (individual cell intensities)
- Affymetrix CHP – Files in Affymetrix CHP format (summary by probes for each chip)
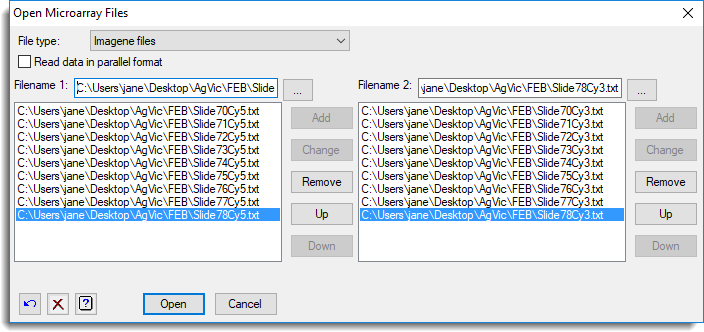
Note: For the Imagene file format, two lists of files (one for each dye/channel) are required. The files are opened in pairs, so the filenames in the two lists must be in the same order to ensure that the two channels of each slide are matched together correctly.
Read data in parallel format
When selected the data from multiple files are imported in parallel format. The data from each file will be displayed on a single spreadsheet with a suffixed identifier appended to the column name where ‘[1]’ represents the data from file 1, ‘[2] represents the data from file 2 and so on. Alternatively, the Separate tab for each file option can be selected to display the data on different tabbed sheets within a book.
Filename
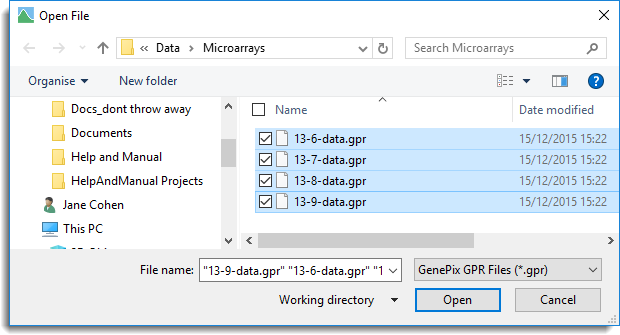
The name of a file to be added to the file name list. Clicking the ![]() button lets you browse for the files. Multiple files can be selected from the browse dialog by holding down the keyboard
button lets you browse for the files. Multiple files can be selected from the browse dialog by holding down the keyboard
Ctrl or Shift keys when selecting the files. Files do not need to be all in the same directory and can be selected from any folder. The files listed in the filename list can be added, deleted and reordered using the following buttons:
| Add | Add the filename in the Filename field into the list of files. |
| Change | Replace the selected the filename in the list with the value in the Filename field. |
| Remove | Remove the selected filename(s) from the list. |
| Up | Move the selected the filename up once place in the list. |
| Down | Move the selected the filename down once place in the list. |
Action buttons
| Open | Import the data. After clicking this button, the select columns from file dialog will appear where you can import a subset of columns to reduce the size of the data. When Affymetrix CEL files are imported you are prompted with a dialog that lets you specify options for how data is imported using this file format. |
| Cancel | Close the dialog without further changes. |
Examples
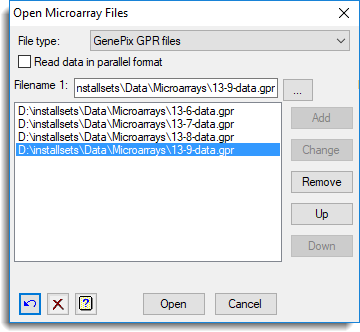
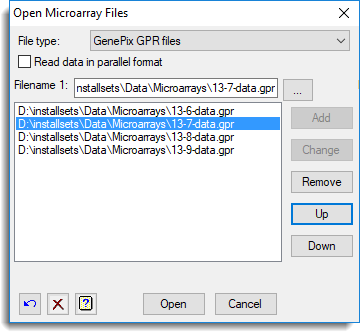
The following dialog shows the selection of 4 Genepix GPR files to be read into the same spreadsheet.
Windows does not always return the filenames in the expected order. Using the Up and Down buttons lets you sort the filenames into the order you require.
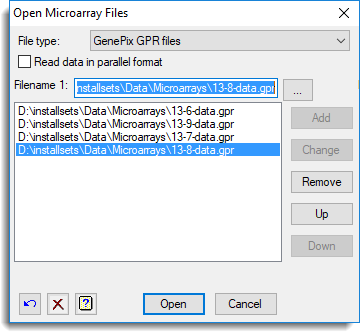
Here they have been sorted into numerical order.
The following dialog shows the selection of 2 pairs of Imagene files to be read into the same spreadsheet.