There are multiple ways to add existing spreadsheets into a book. You can import single or multiple spreadsheets from a closed Excel file and import them into your open workbook in Genstat. If a book has several tabbed sheets you can drag and drop them into another book by grabbing the tabs, or drop a sheet onto empty space to create a new book. You can also copy one or more sheets into another book so that each workbook has its own copy.
When you copy a spreadsheet to another book the original book remains unchanged: if you move a spreadsheet this deletes it from the original workbook.
This method lets you copy one or more Excel worksheets to an open Excel or Genstat (.gsh) spreadsheet.
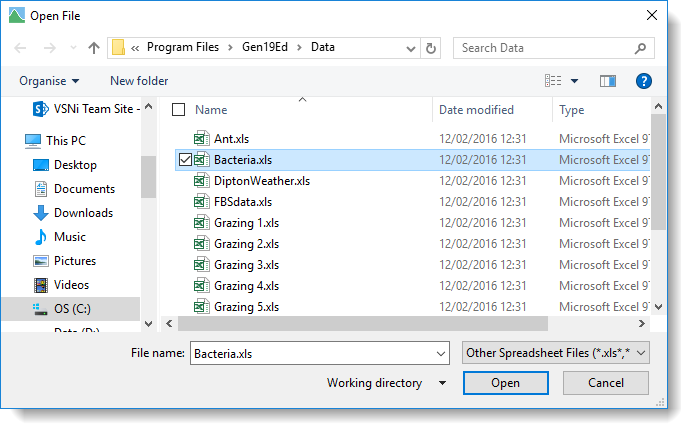
- Locate the spreadsheet to import: from the menu select File | Open then navigate to your required spreadsheet.
- Select your spreadsheet file and click Open.
If the spreadsheet contains a single worksheet it will already be highlighted. If you want to select multiple worksheets hold the keyboard Ctrl key and click the worksheet names with the mouse.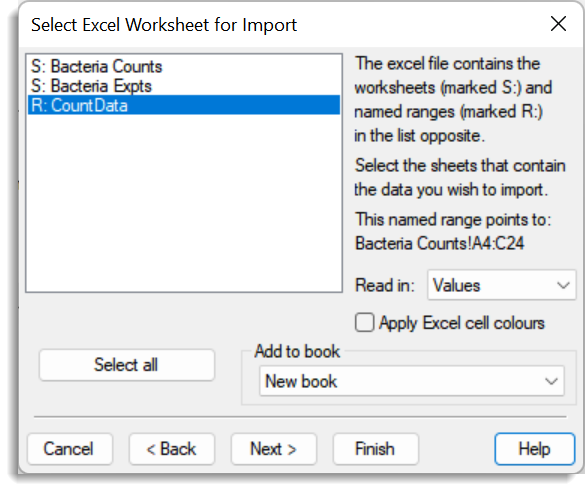
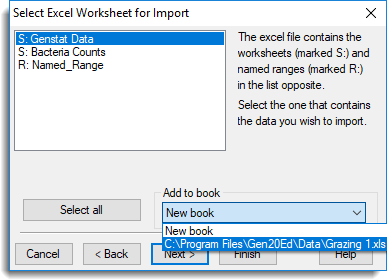
- The Add to book dropdown list contains the names of any workbooks you have open in Genstat. Select your open workbook then click Finish to add the worksheets to it.
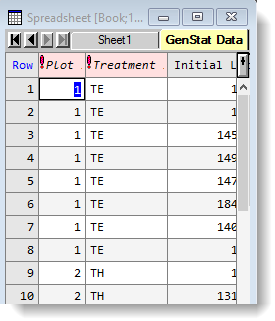
- The workbook is updated with the newly imported worksheets displayed on new tabs.
There are several methods for taking existing spreadsheets and moving or copying them into a new book. You can refer to the method above, which can create a new book or add sheets to an existing one; you can split a workbook into two books, with each containing a specific subset of spreadsheets or split each spreadsheet into its own book.
The most straightforward method is described next. This method creates a new book by letting you select spreadsheets from any number of existing workbooks.
- First open the workbooks you want to move or copy sheets from.
- From the menu select Spread | New | Book from Selected Sheets.
- The field on the left displays each spreadsheet in your open book. The bottom left field Columns in sheet lists each column and is for information purposes only.
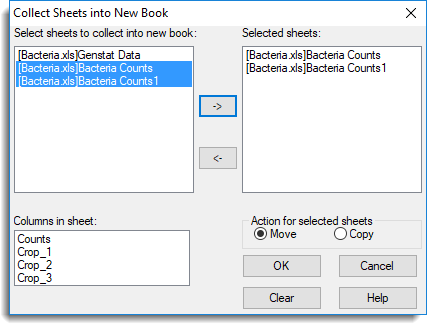
- Hold down the Ctrl key and click with the mouse to select multiple spreadsheets then click
 to move them into the the Selected sheets field in one action.
 - Select whether to Copy or Move the spreadsheets then click OK.
Genstat will create a new book containing your selected spreadsheets.
- Clear – removes names from the Selected sheets list.
For convenience, you can add sheets to an existing .gwb workbook file or Excel file without having to open that file. This lets you collate the output from a sequence of related analyses, adding each spreadsheet in turn when you’ve finished working with it.
The spreadsheet will be added to the book, but will also remain open in Genstat so that you can continue working with the data. This lets you take multiple ‘snapshots’ of a spreadsheet, saving each set of analyses on a separate sheet within the same workbook. The added spreadsheets will all have the same name but will have an underscore and incrementing number appended to them e.g. _1, _2, etc.
- From the menu select Spread | Export.
- Select either Add to Excel file or Add to Book (GWB) file.
- Navigate to your file then click Open.
Your current spreadsheet will be added to the closed file, but will also remain open in Genstat so that you can continue working on it.